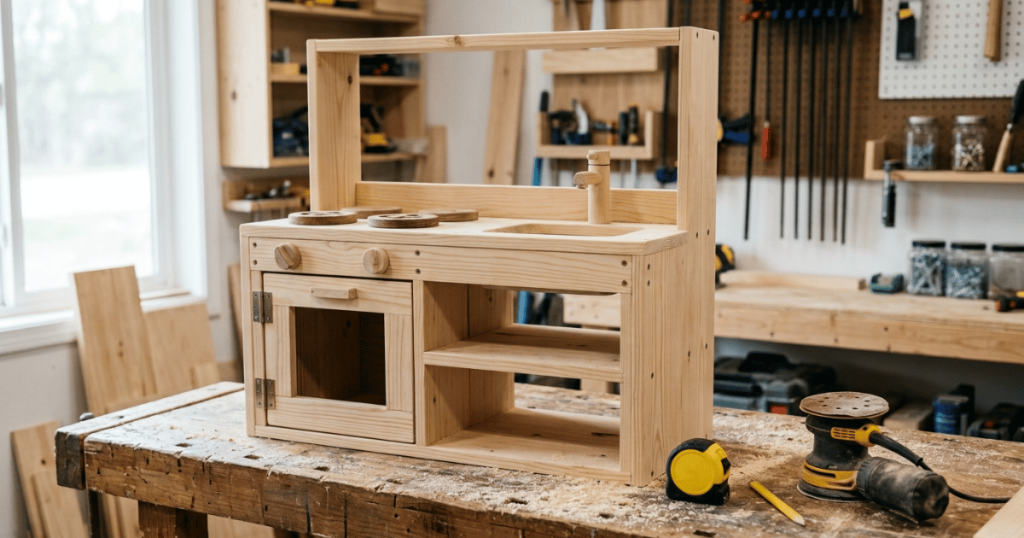
Quick Answer: A simple DIY wooden dollhouse can be built from plywood with two sides, floors, room dividers, a roof, and a thin back panel for stability. Choose the dimensions around the dolls your child actually plays with, assemble the basic shell first, then sand and finish every reachable surface before the house goes into the playroom.
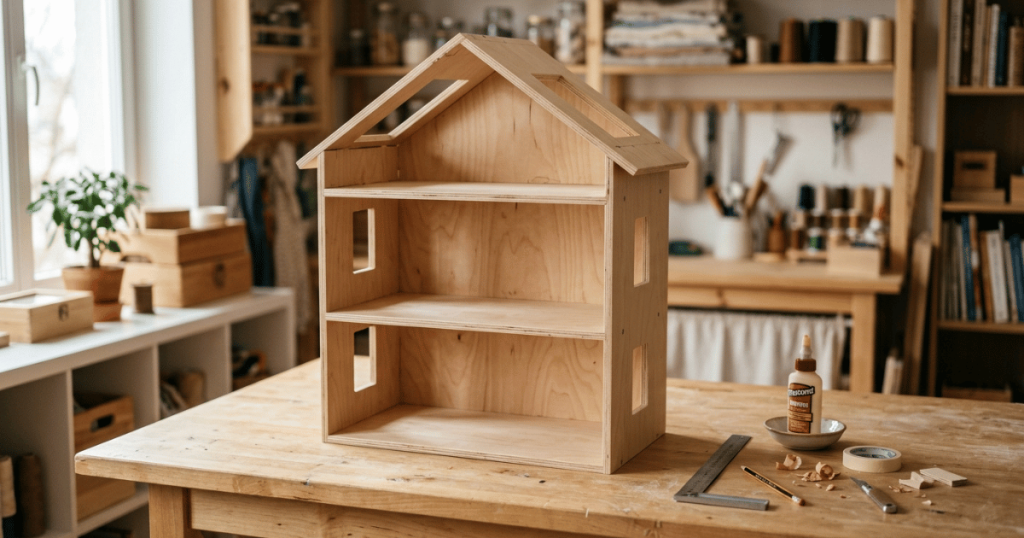
Start With the Dolls, Not the Lumber
Before cutting anything, decide who is going to live in the house.
That sounds obvious, but doll size changes almost every other measurement. A house for small figures can be fairly compact, while one meant for tall fashion dolls needs much more height between floors and enough depth for beds and other furniture. Traditional miniature dollhouses often use 1:12 scale, meaning one inch represents about one foot in real life, while larger dolls need a very different layout.
For a child’s playhouse, I find it easier to forget perfect miniature proportions for a moment and physically place the favorite doll beside a ruler. Allow enough ceiling height for the doll to stand comfortably, then check the deepest piece of furniture you expect to use.
When my daughter was younger, I once planned a room around the dolls themselves and forgot about a chunky wooden bed she loved. The doll fitted beautifully, but the bed stuck so far out that there was hardly any floor left for her hands.
A cardboard mock-up can save you from that kind of mistake. Cut a piece of cardboard to the proposed floor depth and arrange a doll, bed, chair, or whatever your child already owns on it before committing to wood.
Choose Wood That Makes Sense for a Play Dollhouse
Plywood is a very practical material for this project because a good sheet stays relatively flat and gives you strong floors and walls without requiring complicated woodworking joints. Birch plywood is particularly nice when you want exposed wooden edges, although ordinary smooth plywood can also work for a painted house.
Around 1/2-inch plywood is a useful starting point for many medium-size builds. A very large dollhouse may need thicker material or additional support, while a small house can be lighter.
MDF also appears in plenty of dollhouse projects because it is flat and smooth. I prefer plywood for a house that children will move and play with because MDF can be heavy, and its edges do not behave quite like plywood when screws are involved. MDF also creates very fine dust when cut or sanded, so appropriate dust protection and ventilation matter during construction.
You do not need beautiful hardwood for the entire structure.
For a straightforward house, you will usually need sheet wood for the shell and backing, wood glue, suitable screws or nails, sandpaper, a drill, a saw, clamps, and a carpenter’s square. If you do not own a table saw, do not assume the project is out of reach. Straight panel cuts can often be made with a circular saw and guide, and some lumber or home-improvement stores offer panel-cutting services.
Build the Dollhouse in 7 Steps
The easiest first build is an open-front house with a back, rather than a detailed miniature building with hinged walls and lots of tiny architectural pieces. You can always add personality after the structure is sound.
Step 1: Draw the House Full Size on Paper
Write down the overall height, width, and depth. Then mark the position of each floor and room divider.
Check those measurements against the actual dolls and furniture before moving on.
This is also the time to decide whether you really need windows. They look lovely, but every opening adds measuring, drilling, cutting, and sanding. A beginner-friendly house can work perfectly well without them.
Step 2: Make and Label Your Cut List
Break the drawing into individual wooden pieces. A basic design may have two side walls, two or three floors, one or more vertical dividers, roof pieces, and a back panel.
Label each piece on the wood lightly with pencil.
A clear cut list prevents one of the most annoying DIY mistakes, accidentally turning the piece intended for the roof into a shelf because the dimensions looked almost identical.
Step 3: Cut the Panels and Any Openings
Cut the main rectangular panels first. If you want doors or windows, mark them carefully and drill a starter hole inside each opening so a jigsaw blade can enter.
Keep power-tool work completely separate from children’s participation.
Once the cutting is finished, sand the cut edges before assembly. It is much easier to smooth the inside edge of a window while the wall is lying flat on a workbench than after it becomes part of the house.
Step 4: Assemble the Main Shell
Dry-fit the sides and floors before reaching for glue. Use a square to check that the floors meet the walls properly and confirm that your dividers still fit.
Then assemble the structure using the fastening method appropriate for your material and design. Wood glue combined with screws, pocket-hole screws, or finish nails is common in DIY dollhouse construction. Predrilling near plywood edges can also reduce the chance of splitting.
Do not rush this part just because the shape suddenly looks like a house.
A slightly crooked lower floor tends to make every later piece harder to fit.
Step 5: Add the Back for Rigidity
A back panel does more than close the rooms visually. It helps the whole structure resist shifting sideways and can make a surprisingly floppy shell feel much more solid.
Thin plywood is often enough because the back does not need the same thickness as the main floors. Set the assembled house over the backing material, mark carefully, cut it to fit, then attach it securely.
Before fastening it permanently, check the house for square one more time.
Step 6: Sand It Like a Parent
This is the stage I would never hurry.
Run your hands over the places a child will naturally grab, especially the front edges of floors, roof edges, window openings, and corners. Sand away roughness and soften sharp exposed corners. Fill unwanted holes if needed, then sand the repair smooth.
When my son was five, he almost always carried bigger wooden toys by whatever opening his fingers could hook into. That made me much more particular about the inside edges of windows and handles than I used to be.
Check that nail heads or screws are properly seated and that nothing sharp projects into a room.
Step 7: Finish, Cure, and Inspect
You can leave smooth plywood natural or add a child-appropriate finish according to the finish manufacturer’s directions. If you paint, thin coats are easier to control around corners and room openings than one heavy coat.
Allow the finish and adhesives to dry and cure fully according to their instructions before play.
Then give the house a final practical inspection. Push gently from different directions to see whether it rocks. Check every reachable edge with your hand, look inside the rooms for protruding fasteners, and make sure tall or narrow designs cannot easily tip during ordinary play.
Keep the Design Simple Enough to Finish
It is easy to turn a DIY wooden dollhouse into a miniature home-renovation project.
Stairs, shingles, balconies, molding, wallpaper, tiny door frames, and elaborate windows can all be fun additions. They also add time and create more little pieces that may eventually need repair. For a dollhouse intended for regular children’s play, open rooms and sturdy construction often matter more than architectural detail.
You can also let the house change with your child.
A plain room can become a bedroom this month and an animal clinic next month. That flexibility is part of what makes dollhouse play so enjoyable. Children arrange figures, move furniture, make up conversations, and use their hands to manipulate small objects, so the house becomes a setting for pretend play rather than a finished scene they are afraid to disturb.
I have watched my daughter turn the same simple wooden room from a kitchen into a classroom just by moving a little table and lining three animal figures against the wall.
That is a good reminder not to decorate every inch for them.
A Note About KidKraft Dollhouses and DIY Searches
If you searched for how to build a KidKraft dollhouse, you may actually be looking for assembly help for a manufactured dollhouse rather than instructions for building one from raw wood.
Those are different jobs. A packaged dollhouse should be assembled according to the instructions for that specific model because its panels, hardware, and attachment points have already been designed for a particular sequence. A scratch-built DIY wooden dollhouse gives you control over dimensions and construction, but it also makes you responsible for the structure and finishing.
Do not copy dimensions from a large commercial dollhouse simply because you like its appearance.
Instead, borrow the useful idea behind the size. Measure the dolls your child uses, decide how many rooms they genuinely need, and build only as large as your space comfortably allows.
Check the Dollhouse Again After Real Play Begins
The first inspection should not be the last.
Children lean on floors, pull houses across carpets, and occasionally use dollhouse roofs for purposes no adult designer anticipated. After the first few weeks, check the structure again. Pay particular attention to joints, backing, exposed plywood edges, and anything decorative that has been glued on.
If the house develops a wobble, investigate it rather than simply tightening every visible screw.
A loose joint may need attention, and a tall house may need a more stable location. The right solution depends on how the dollhouse is built and where it is used.
The good part about building the house yourself is that you understand how it went together. A scratched floor or loose piece of trim is usually far less mysterious when you were the person holding the glue bottle in the first place.
Frequently Asked Questions
What is the best wood for a DIY dollhouse?
Good-quality plywood is a practical choice for a child’s play dollhouse because it is strong, relatively stable, and available in several thicknesses. Birch plywood is especially attractive for natural finishes, while smooth standard plywood can work well for painted projects.
What scale should I use for a wooden dollhouse?
Choose the scale according to the dolls and furniture that will actually be used. Traditional miniature furniture commonly uses 1:12 scale, but larger fashion dolls require a much bigger house, so measuring the child’s existing toys is more useful than choosing a scale by name alone.
How thick should plywood be for a dollhouse?
Around 1/2-inch plywood can be a sensible starting point for the main walls and floors of many medium-size play dollhouses. The ideal thickness depends on the overall size, span of the floors, construction method, and how much weight the finished structure needs to handle.
Can I build a wooden dollhouse without a table saw?
Yes. Depending on the design, straight cuts can be made with a circular saw and guide, while a jigsaw is useful for windows and other openings. You can also simplify the project by having large plywood panels cut to size before you begin.
How do I make a DIY wooden dollhouse safer for children?
Smooth every reachable surface and edge, remove splinters, make sure fasteners do not protrude, and check that the finished house is stable during play. Use finishes and adhesives according to their manufacturers’ safety and curing instructions, then periodically inspect the dollhouse as it gets used.