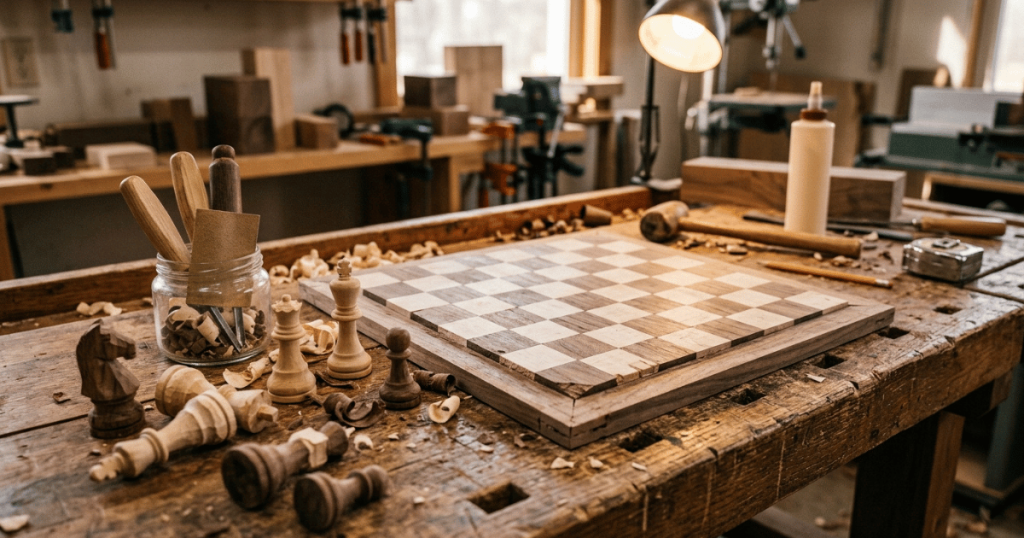
Quick Answer: DIY wooden board games can be as simple as drawing a tic tac toe grid on a smooth wooden square or as involved as building a framed game with movable pieces. Start with a paper version, transfer the design to smooth wood, let an adult handle cutting and drilling, then sand, decorate, and playtest the finished game.
Start With a Game You Can Build Simply
The easiest wooden board game is usually one with a board you can understand at a glance. Tic tac toe is a great example because you only need nine spaces and two sets of playing pieces. A simple race game with a painted path is another manageable first project.
I would start there before attempting anything with dozens of drilled holes or complicated moving parts.
The design also needs to suit the child who will actually play it. A younger child may enjoy matching colors or moving chunky pieces between large spaces. An older child can handle more rules, counting, strategy, and decisions between turns.
When my son was five, nine clear squares and chunky X and O pieces held his attention far better than a homemade path game I had drawn with far too many stops. My nine-year-old daughter, on the other hand, was much happier when we added rules that gave her a reason to think ahead.
That difference matters when you are making the game yourself. Wood lasts a long time, so it is worth settling the basic idea before you start cutting anything.
Also Check: DIY Wooden Play Kitchen Plans
Make a Paper Version Before You Touch the Wood
A pencil-and-paper prototype is one of the most useful parts of making DIY wooden board games.
Draw the board at roughly the size you want to build it. Add the spaces, pieces, start and finish points, or whatever else the game needs. Then play a rough version using coins, buttons, scraps of paper, or pieces borrowed from another game.
This quickly exposes problems that are hard to notice while you are designing. Spaces may be too close together. A game may take twenty minutes longer than you expected, or one rule may give the first player too much of an advantage.
Children are surprisingly good at spotting the boring parts.
Write down the basic rules as you test. Decide who starts, what happens during a turn, how pieces move, and how someone wins. If you keep changing a rule while playing, that is a good sign it needs more work before it goes onto a permanent wooden board.
Step-by-Step: Turn the Design Into a Wooden Game
Step 1: Choose a suitable wooden base
For a flat game board, a smooth piece of plywood or a solid wooden panel can work well. The important part for a family project is that the board stays reasonably flat and gives you a surface that can be sanded smooth.
Check the wood before using it. Avoid pieces with loose splinters, badly cracked areas, or protruding fasteners.
The thickness depends on the design. A basic tic tac toe board needs very little construction, while a game that requires holes, grooves, or a raised frame needs enough material to accommodate those features.
Step 2: Transfer your layout
Measure the board and lightly mark the design in pencil.
A ruler helps enormously with grids and straight paths. For circular spaces, you can trace a suitable round object rather than trying to draw every circle freehand. Keep your paper prototype nearby so you do not accidentally change the layout as you work.
Do not rush into permanent paint at this stage.
Put the actual playing pieces on the penciled board first. Make sure fingers can comfortably pick them up and that neighboring pieces are not crowded together.
Step 3: Let an adult handle the workshop jobs
Sawing, drilling, routing, and powered sanding are adult jobs in our family projects. Children can still be very involved in choosing the design and colors, drawing safe decorative details, or helping with age-appropriate hand-finishing under close supervision.
If your design needs holes for pegs or marbles, test the hole size on a scrap of the same wood first. That small test can save an otherwise finished board.
Simple designs require fewer workshop operations. A painted tic tac toe board, for example, can be much more approachable than a peg game with dozens of accurately spaced holes.
Step 4: Sand the board and pieces carefully
Run your hands over the board, especially along cut edges and corners.
Any area that feels rough deserves more attention. Round over uncomfortable corners and check small wooden pieces individually rather than assuming they are smooth because they came from the same dowel or strip of wood.
I once thought a little wooden counter was finished until my daughter turned it over and found one rough edge underneath. Since then, I check the bottoms of pieces as carefully as the visible sides.
Wipe away sanding dust before decorating.
Step 5: Add markings and decoration
You can keep the natural wood visible or add simple painted markings. Clear symbols usually work better during play than a very busy design, especially when children need to identify spaces quickly.
A tic tac toe board only needs its grid. A homemade race game may need numbered spaces or a few clearly marked special spaces.
If children are decorating the board, pencil guidelines can help them stay within the areas that need to remain readable. Allow paint or any other applied finish to dry and cure according to its instructions before the game goes into play.
Step 6: Make the playing pieces
The pieces should match the way the game works. Wooden discs can become counters, short sections of dowel can become simple pawns, and flat wooden shapes can make an easy matching game.
Size deserves particular thought when younger children are around. Small game pieces can be a choking hazard, so a game intended for a household with little children should use appropriately sized components and be stored where younger siblings cannot get to unsuitable pieces.
Also count everything before you finish the project. Discovering that your game needs ten counters when you made eight is much less amusing after all eight have been carefully painted.
Step 7: Play the finished version before calling it done
Set the tools aside and actually play.
Watch what happens rather than immediately explaining every problem away. Do pieces slide out of place? Is one symbol difficult to see? Does everybody forget the same rule? Those little frustrations tell you what the physical game still needs.
You might decide to repaint a marking, simplify a rule, or add a shallow tray for the pieces.
A homemade game does not need to look factory-perfect. It needs to be comfortable to handle, understandable, and enjoyable enough that the children ask to get it out again.
Three Wooden Game Ideas That Scale Well
Tic tac toe is probably the easiest place to begin. Make a nine-space grid and create five pieces for each side. Children can help choose symbols beyond the usual Xs and Os, such as cats and dogs or two simple colors.
A matching game is another forgiving project. Make pairs of flat wooden tiles and put the same picture, shape, number, or color on each pair. Turn them face down and take turns finding matches.
For older children, try a simple wooden path game. Players can roll a die, move counters along painted spaces, and follow a few special instructions. Designing the rules together adds planning and problem-solving to the craft itself.
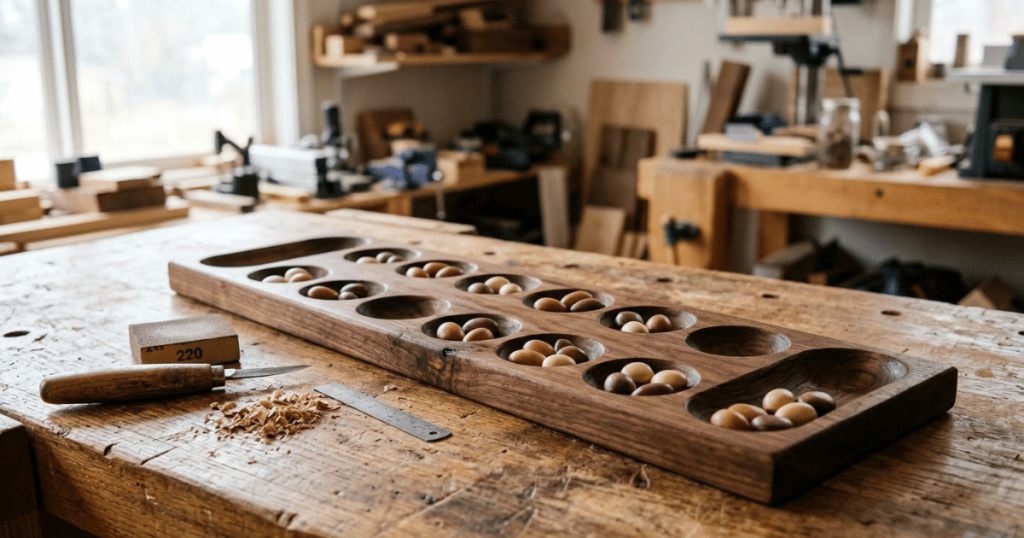
If you already enjoy woodworking, you can eventually move toward projects such as a domino table or board with recessed playing areas. Those builds need more accurate measuring and construction, so I would treat them as a later project rather than the easiest family starting point.
Think About the Pieces After Game Night Too
Loose components are usually the first part of a homemade game to disappear.
Plan storage while you are building. A small cloth bag, divided box, or container kept with the board makes it easier to return every counter and die to the same place. If your woodworking skills allow it, a shallow built-in compartment can serve the same purpose.
Before putting the game away, count the pieces with the children.
That tiny routine has another benefit. Sorting counters by type or color gives younger children a simple job, while older children can check the game against a written component list.
Wooden games also benefit from an occasional hands-on inspection. Check for rough spots, loose parts, cracked pieces, peeling decoration, or damage that could make the game uncomfortable or unsafe to use.
Why Making the Game Can Be as Valuable as Playing It
A homemade board game gives children decisions that a finished game cannot. They can choose the theme, help work out rules, decide what the pieces represent, and discover through playtesting that an idea sometimes needs changing.
There is plenty of natural practice hidden inside that process.
Drawing and decorating involve fine hand movements. Moving pieces uses hand-eye coordination. Depending on the game, children may also practice counting, taking turns, remembering rules, planning ahead, and accepting that another player sometimes wins.
The social side is what I notice most at home. When children have helped make a game, they tend to have strong opinions about how it should work, which creates useful conversations about fairness and rules.
And there is something satisfying about seeing a scratched, well-used wooden game on the shelf. It means the project survived the craft table and became something the family genuinely plays.
Frequently Asked Questions
What materials do I need to make a homemade wooden board game?
For a simple game, you generally need a smooth wooden board, wooden pieces, a ruler and pencil, sandpaper, and whatever you plan to use for the markings. Cutting or drilling tools depend on the design and should be handled by a capable adult.
What is an easy wooden board game to make for kids?
Tic tac toe is one of the simplest choices because the board only needs a three-by-three grid and two sets of pieces. A wooden matching game made from pairs of decorated tiles is another straightforward option.
Can children help make a wooden board game?
Yes, but their jobs should suit their age and abilities. Children can help invent rules, test a paper prototype, choose symbols, decorate appropriate surfaces, and playtest, while adults should handle power tools and other hazardous construction tasks.
Why should I prototype a board game before making it from wood?
A paper prototype lets you test the board size, spacing, rules, and game length before committing to the permanent version. It is much easier to erase a pencil line or change a paper rule than repair an incorrectly drilled wooden board.
What can children learn from making their own board game?
The project can naturally involve creativity, planning, counting, problem-solving, turn-taking, and fine motor work. The exact skills depend on the game, and the biggest advantage is that children get to make decisions and then see how those decisions work during actual play.